Bringing Two iPods Back to Life
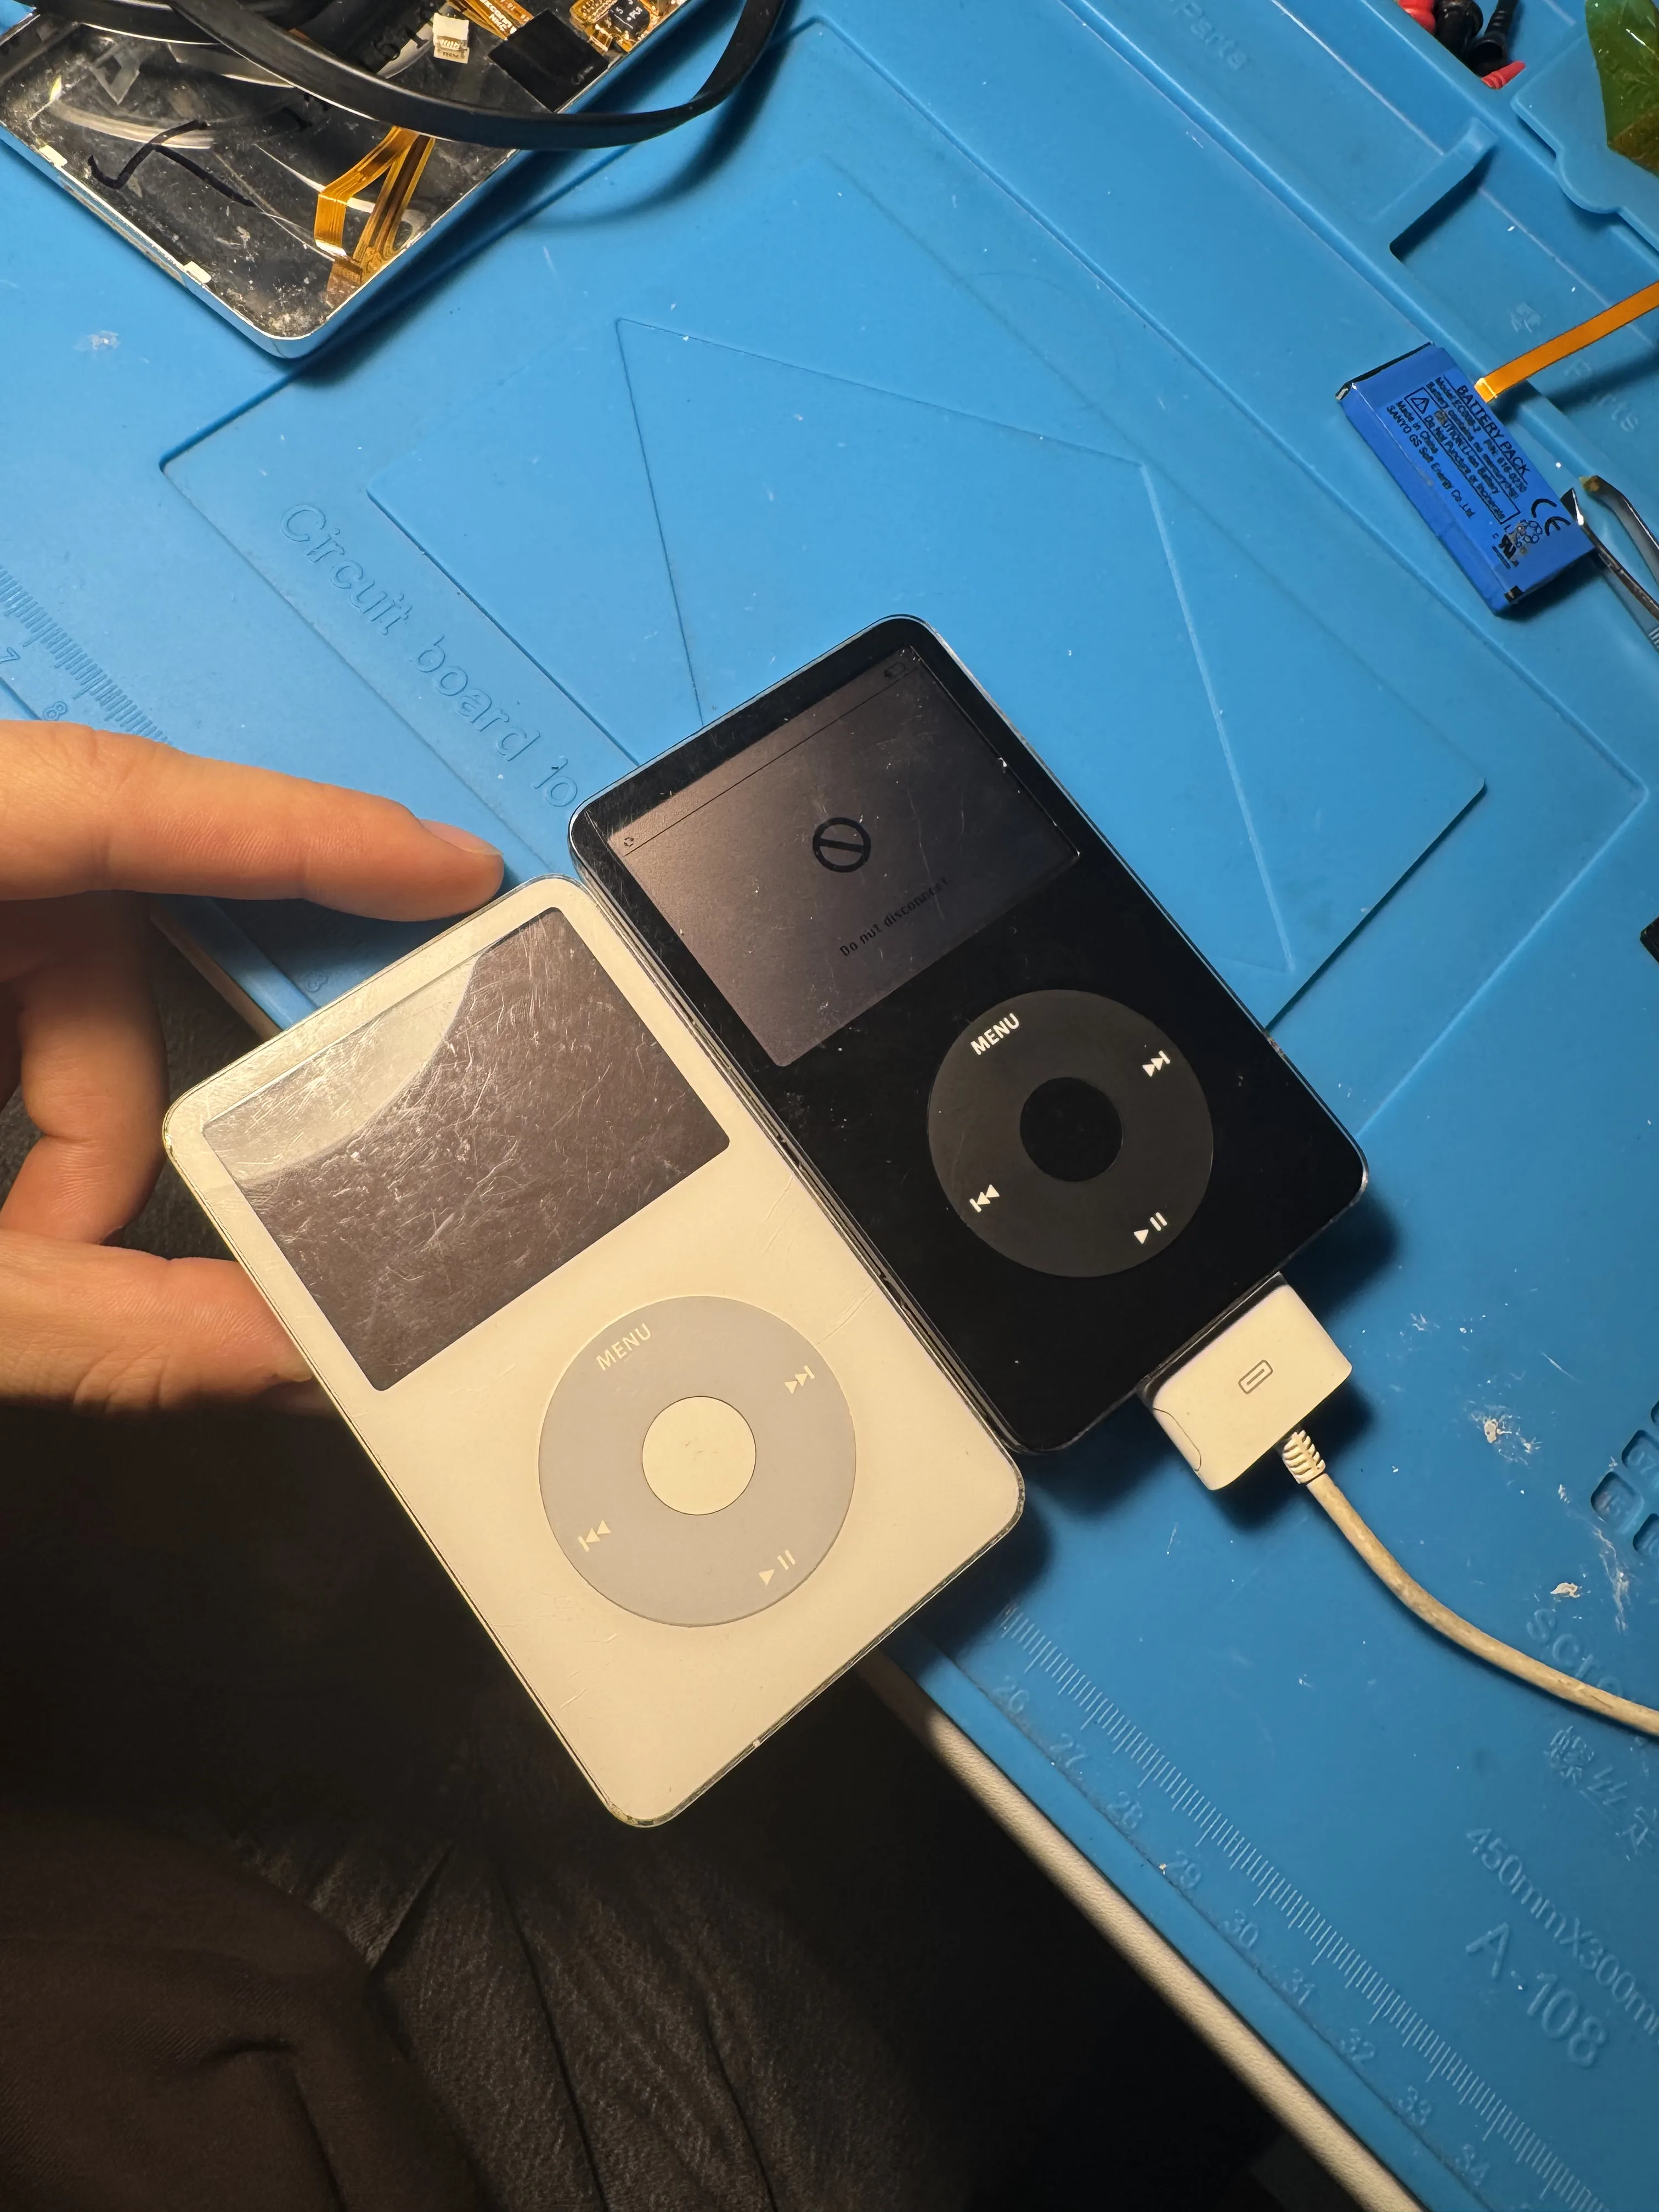
I recently restored and modded two iPod Classic 5.5th gen (30GB).
One of them is my childhood iPod: it had been non-functional for years, but I still remember discovering one of my favorite albums on it when I was around 7–8 years old. The battery was already dead back then, and about 10 years ago I removed the swollen battery (and accidentally broke the plastic battery connector in the process).
The second one came from a thrift shop and was meant to be a donor for spare parts... but in the end I repaired and modded that one too :) .
Parts Used (x2 of almost everything)
I bought two of everything since I was rebuilding both iPods.
| Part | Qty | Price each (approx.) | Link |
|---|---|---|---|
| iPod Classic 5.5G (used) | 2 | Used market (I paid €30 for the second one) | ~ |
| microSD 128GB | 2 | €10 | Amazon |
| 2000mAh battery | 2 | €10 | AliExpress |
| Headphone jack flex cable | 1 | €13 | AliExpress |
| TF card to CE adapter | 2 | €8 | AliExpress |
| Battery board flex connector | 2 | €5 | AliExpress |
| iPhone 7 taptic engine | 1 | €2 | AliExpress |
| iPhone 7 Plus taptic engine | 1 | €2 | AliExpress |
Starting Point
Both iPods had essentially the same problem: bad batteries.
(And yes, I also managed to break/lose the battery connector clip on the second one too :) .)
Procedure (Same for Both iPods)
1) Open the iPods
Carefully open the case and disconnect the battery.
2) Remove the battery and hard drive
The original HDD and battery are removed since both will be replaced:
- battery → new 2000mAh battery
- HDD → microSD storage mod
3) Remove the AUX assembly / speaker and prep for haptics
I removed the AUX connector assembly and desoldered the small speaker used for the click/clock sounds.
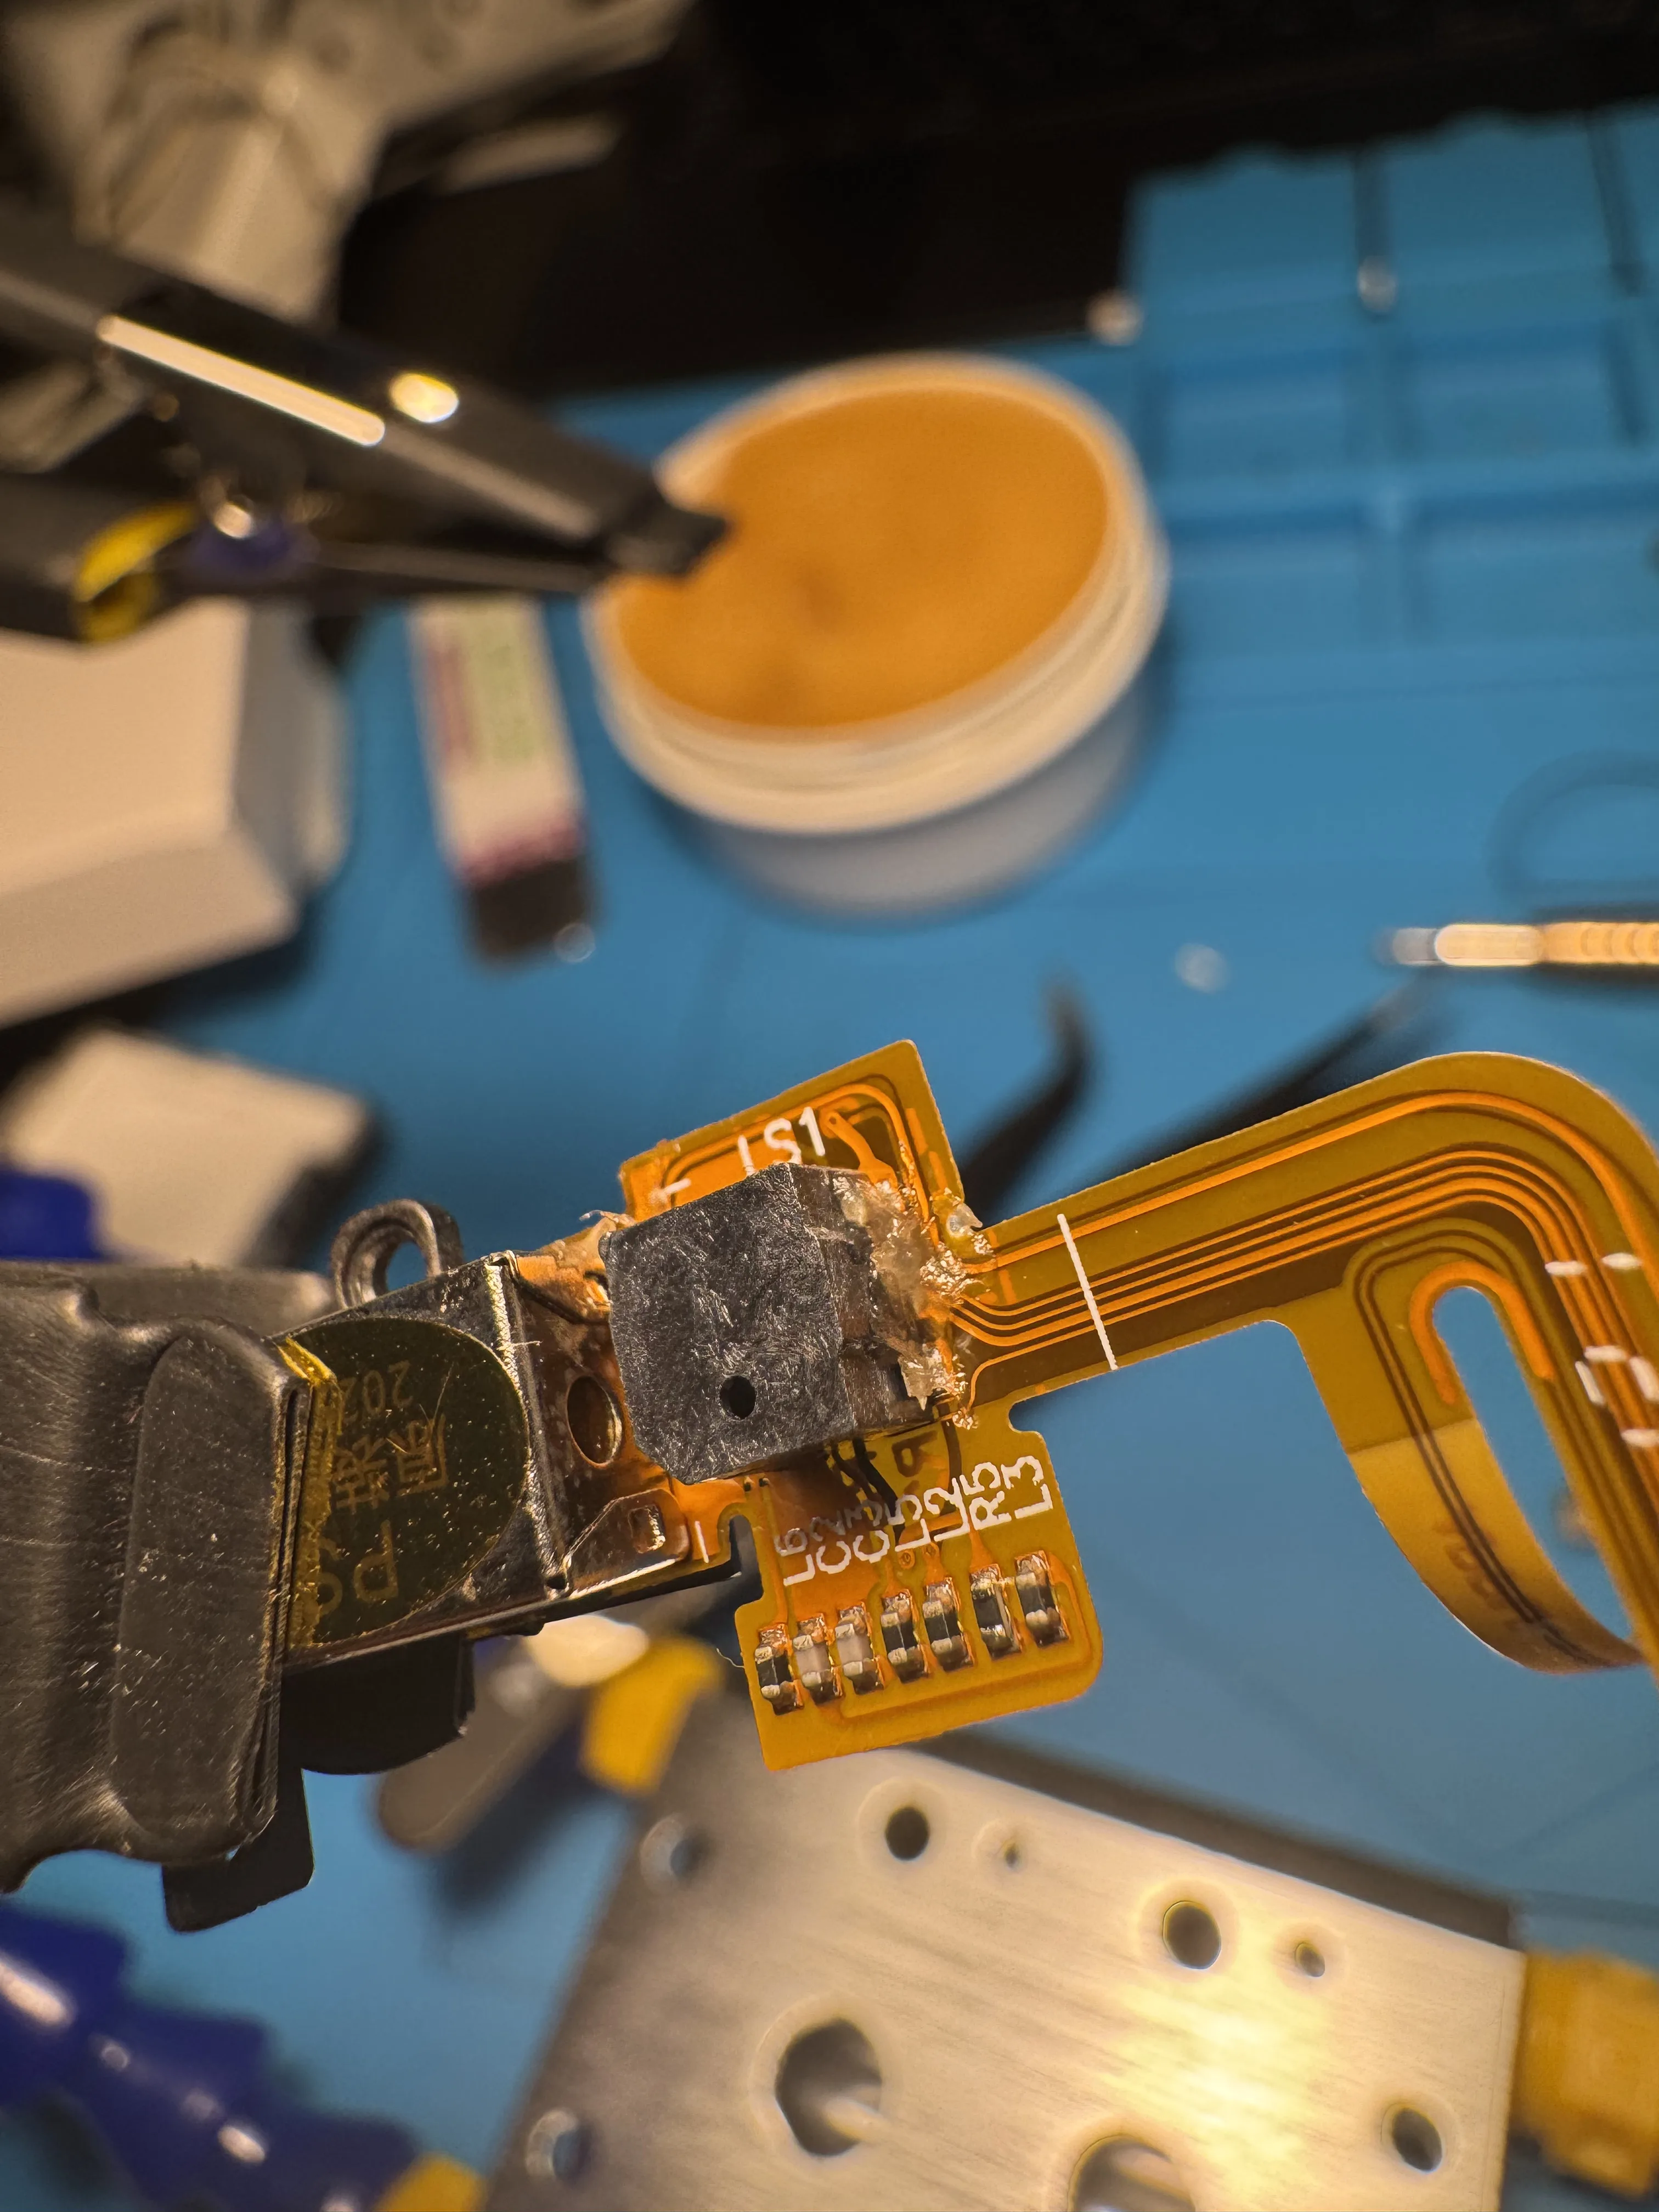
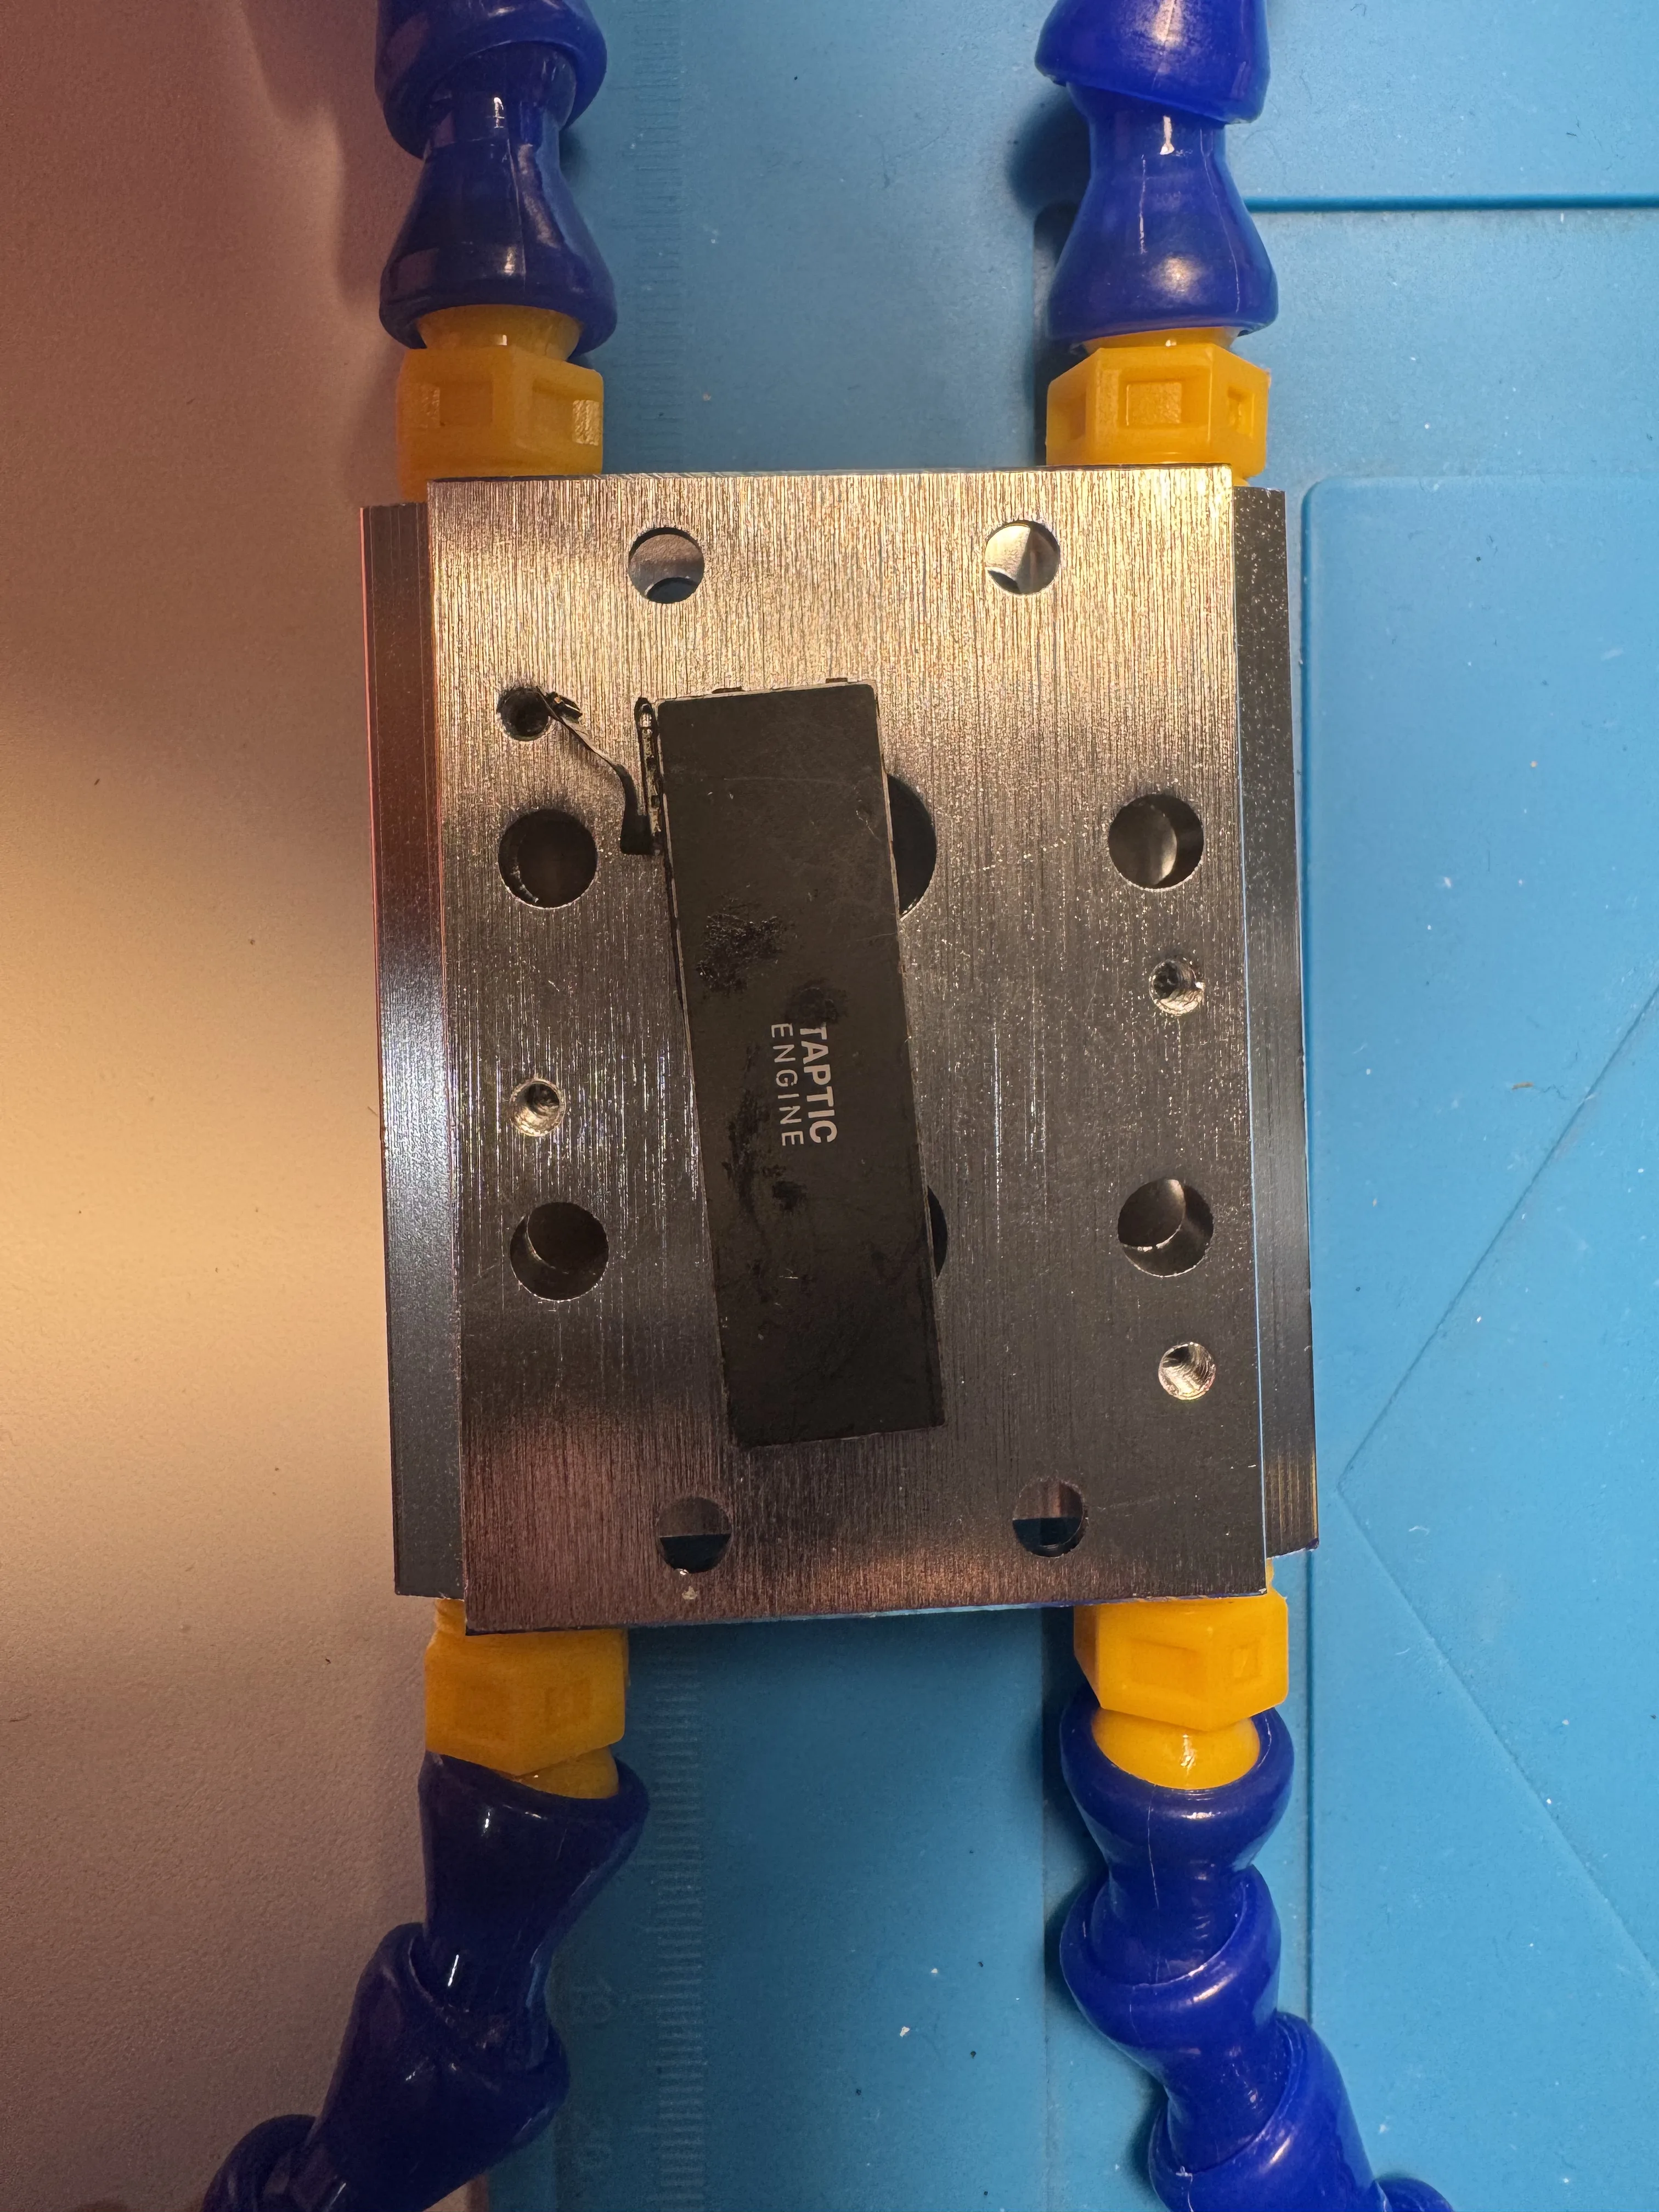
4) Install the taptic engine
Instead of the original speaker feedback, I installed taptic engines (one from an iPhone 7 and one from an iPhone 7 Plus).
5) Install the microSD mod + new battery
Next, I added the storage adapter and the new battery, then checked all connections before closing.
6) Clean before reassembly
Before putting everything back together, I cleaned the inside of the faceplate (there was quite a bit of dust trapped inside).
A Small Mistake (and Extra Repair)
I also broke one headphone jack flex cable and had to replace it.
This did not happen while soldering: the cable is glued in place, and while removing it I ripped it and tore it apart. So one extra replacement was needed during the build.
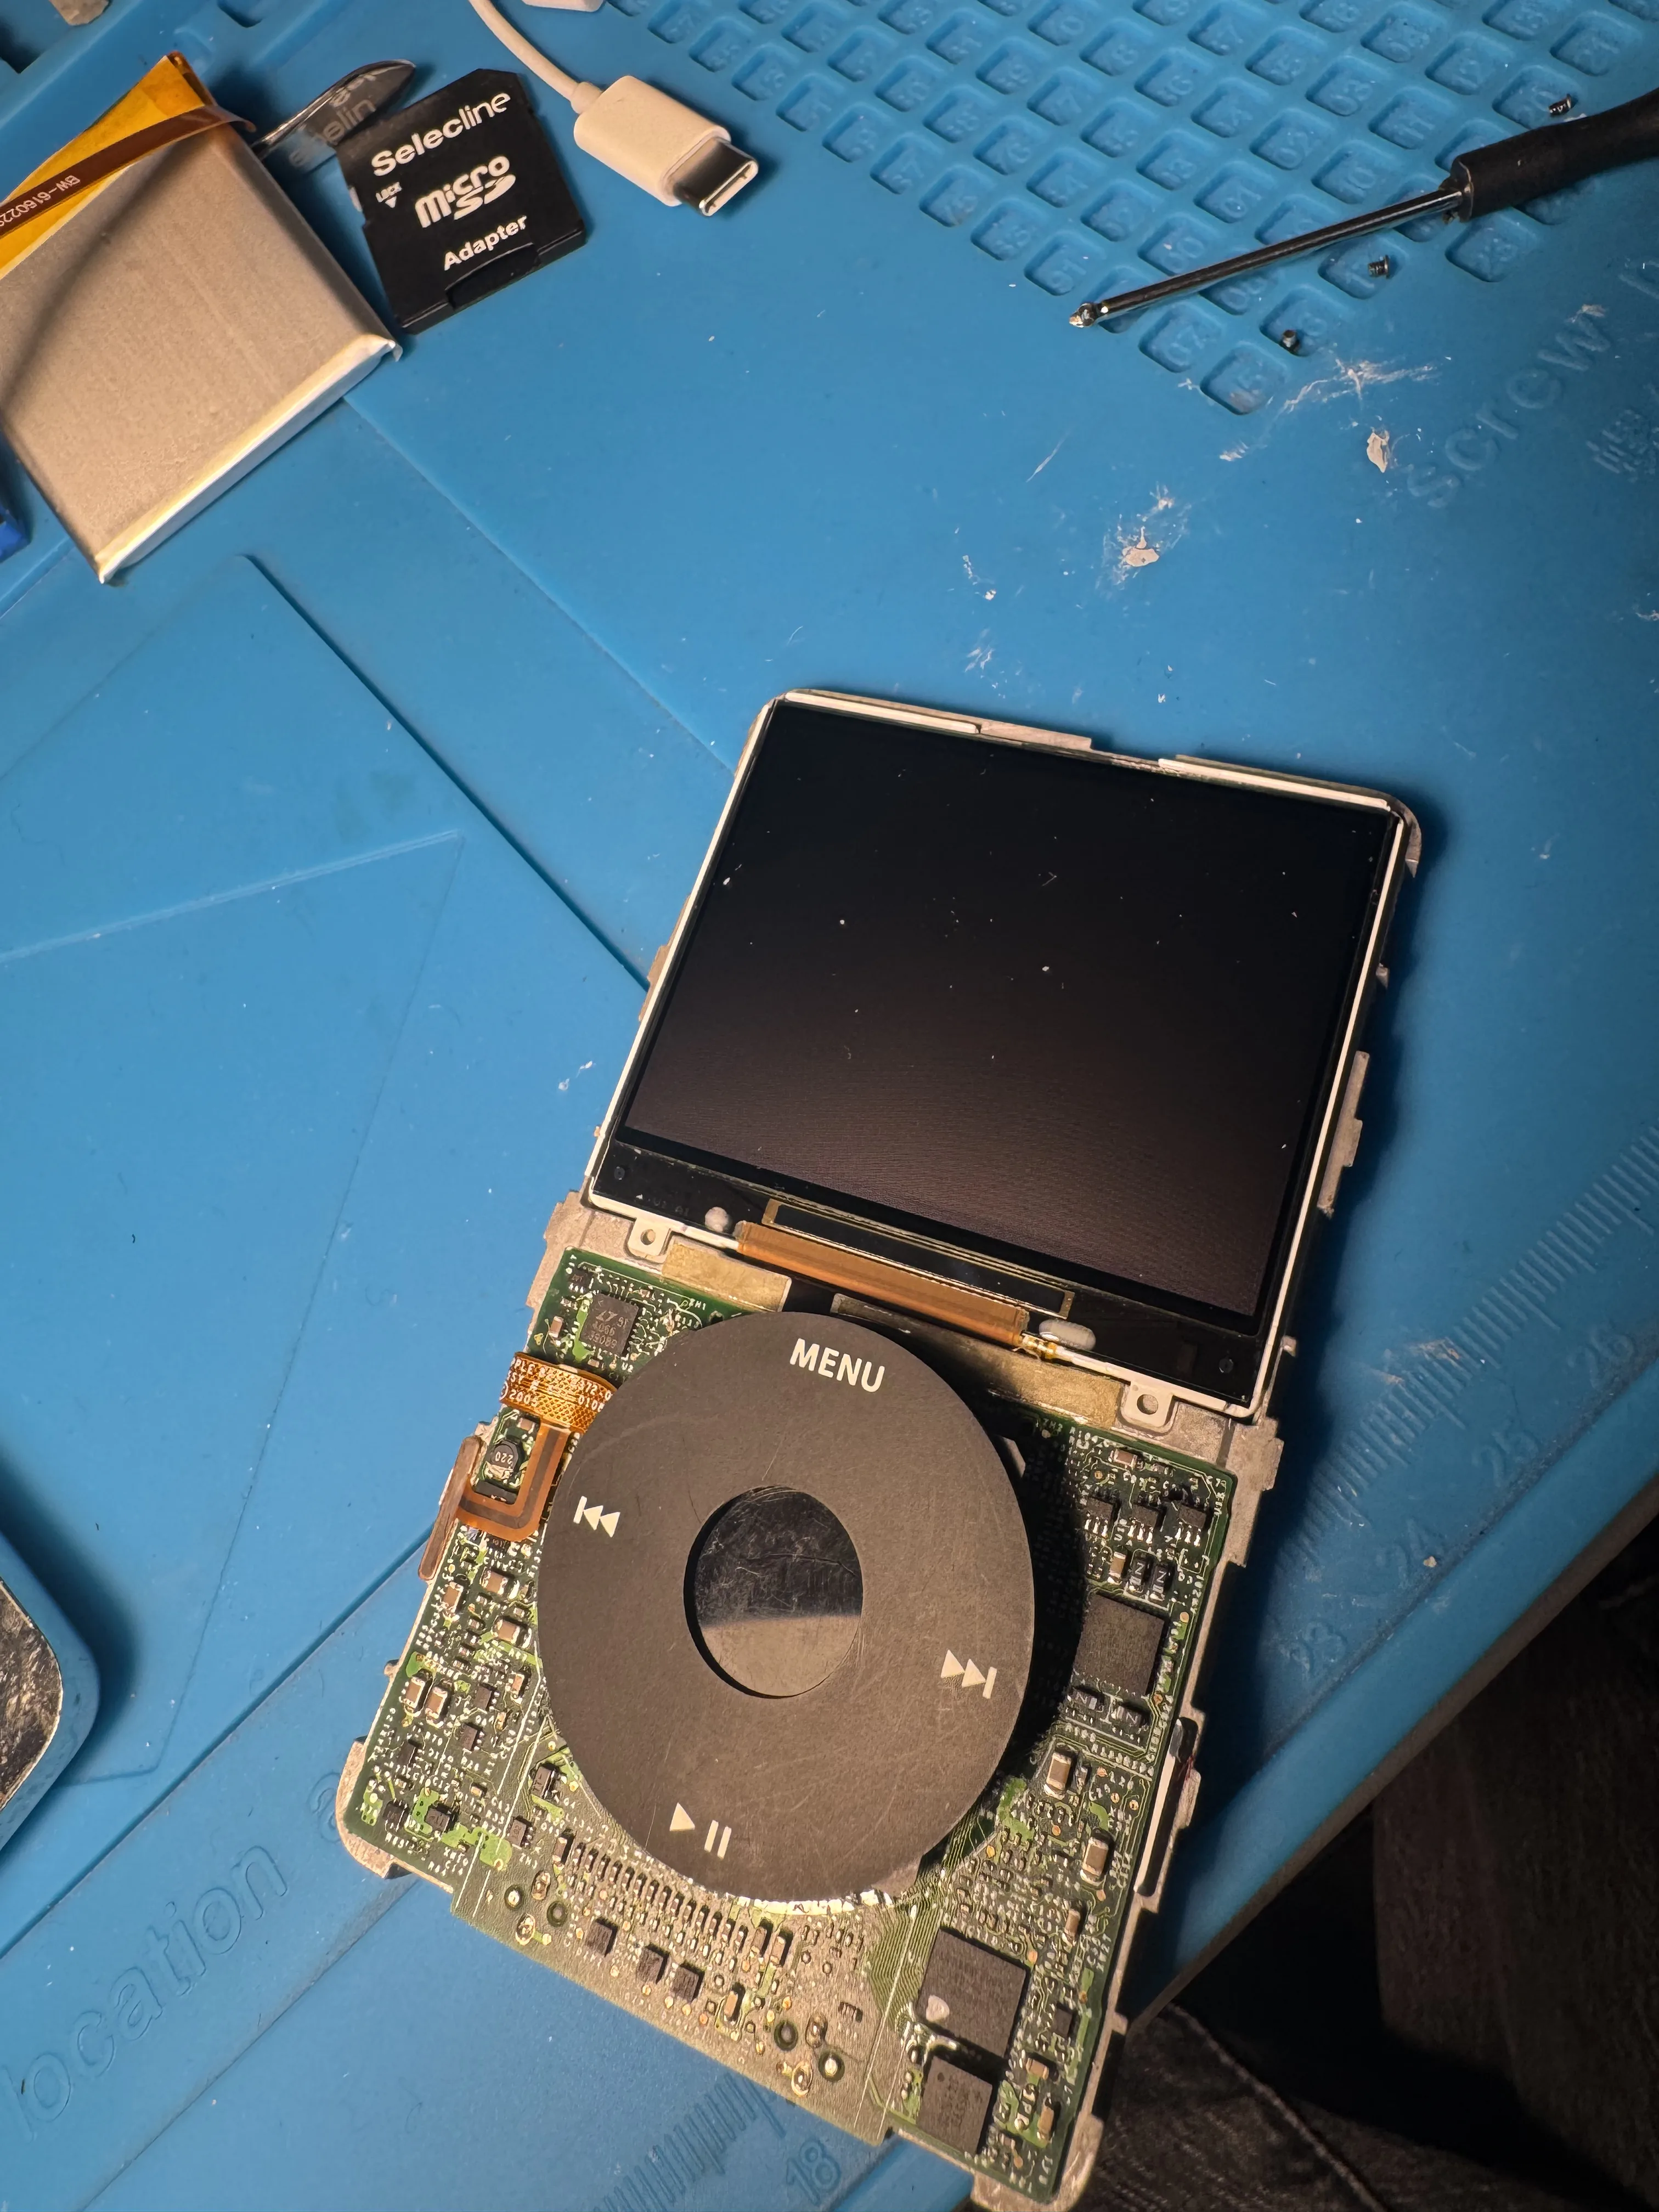
Mid-Build Result
` Here are the iPods during/after the internal mod work:
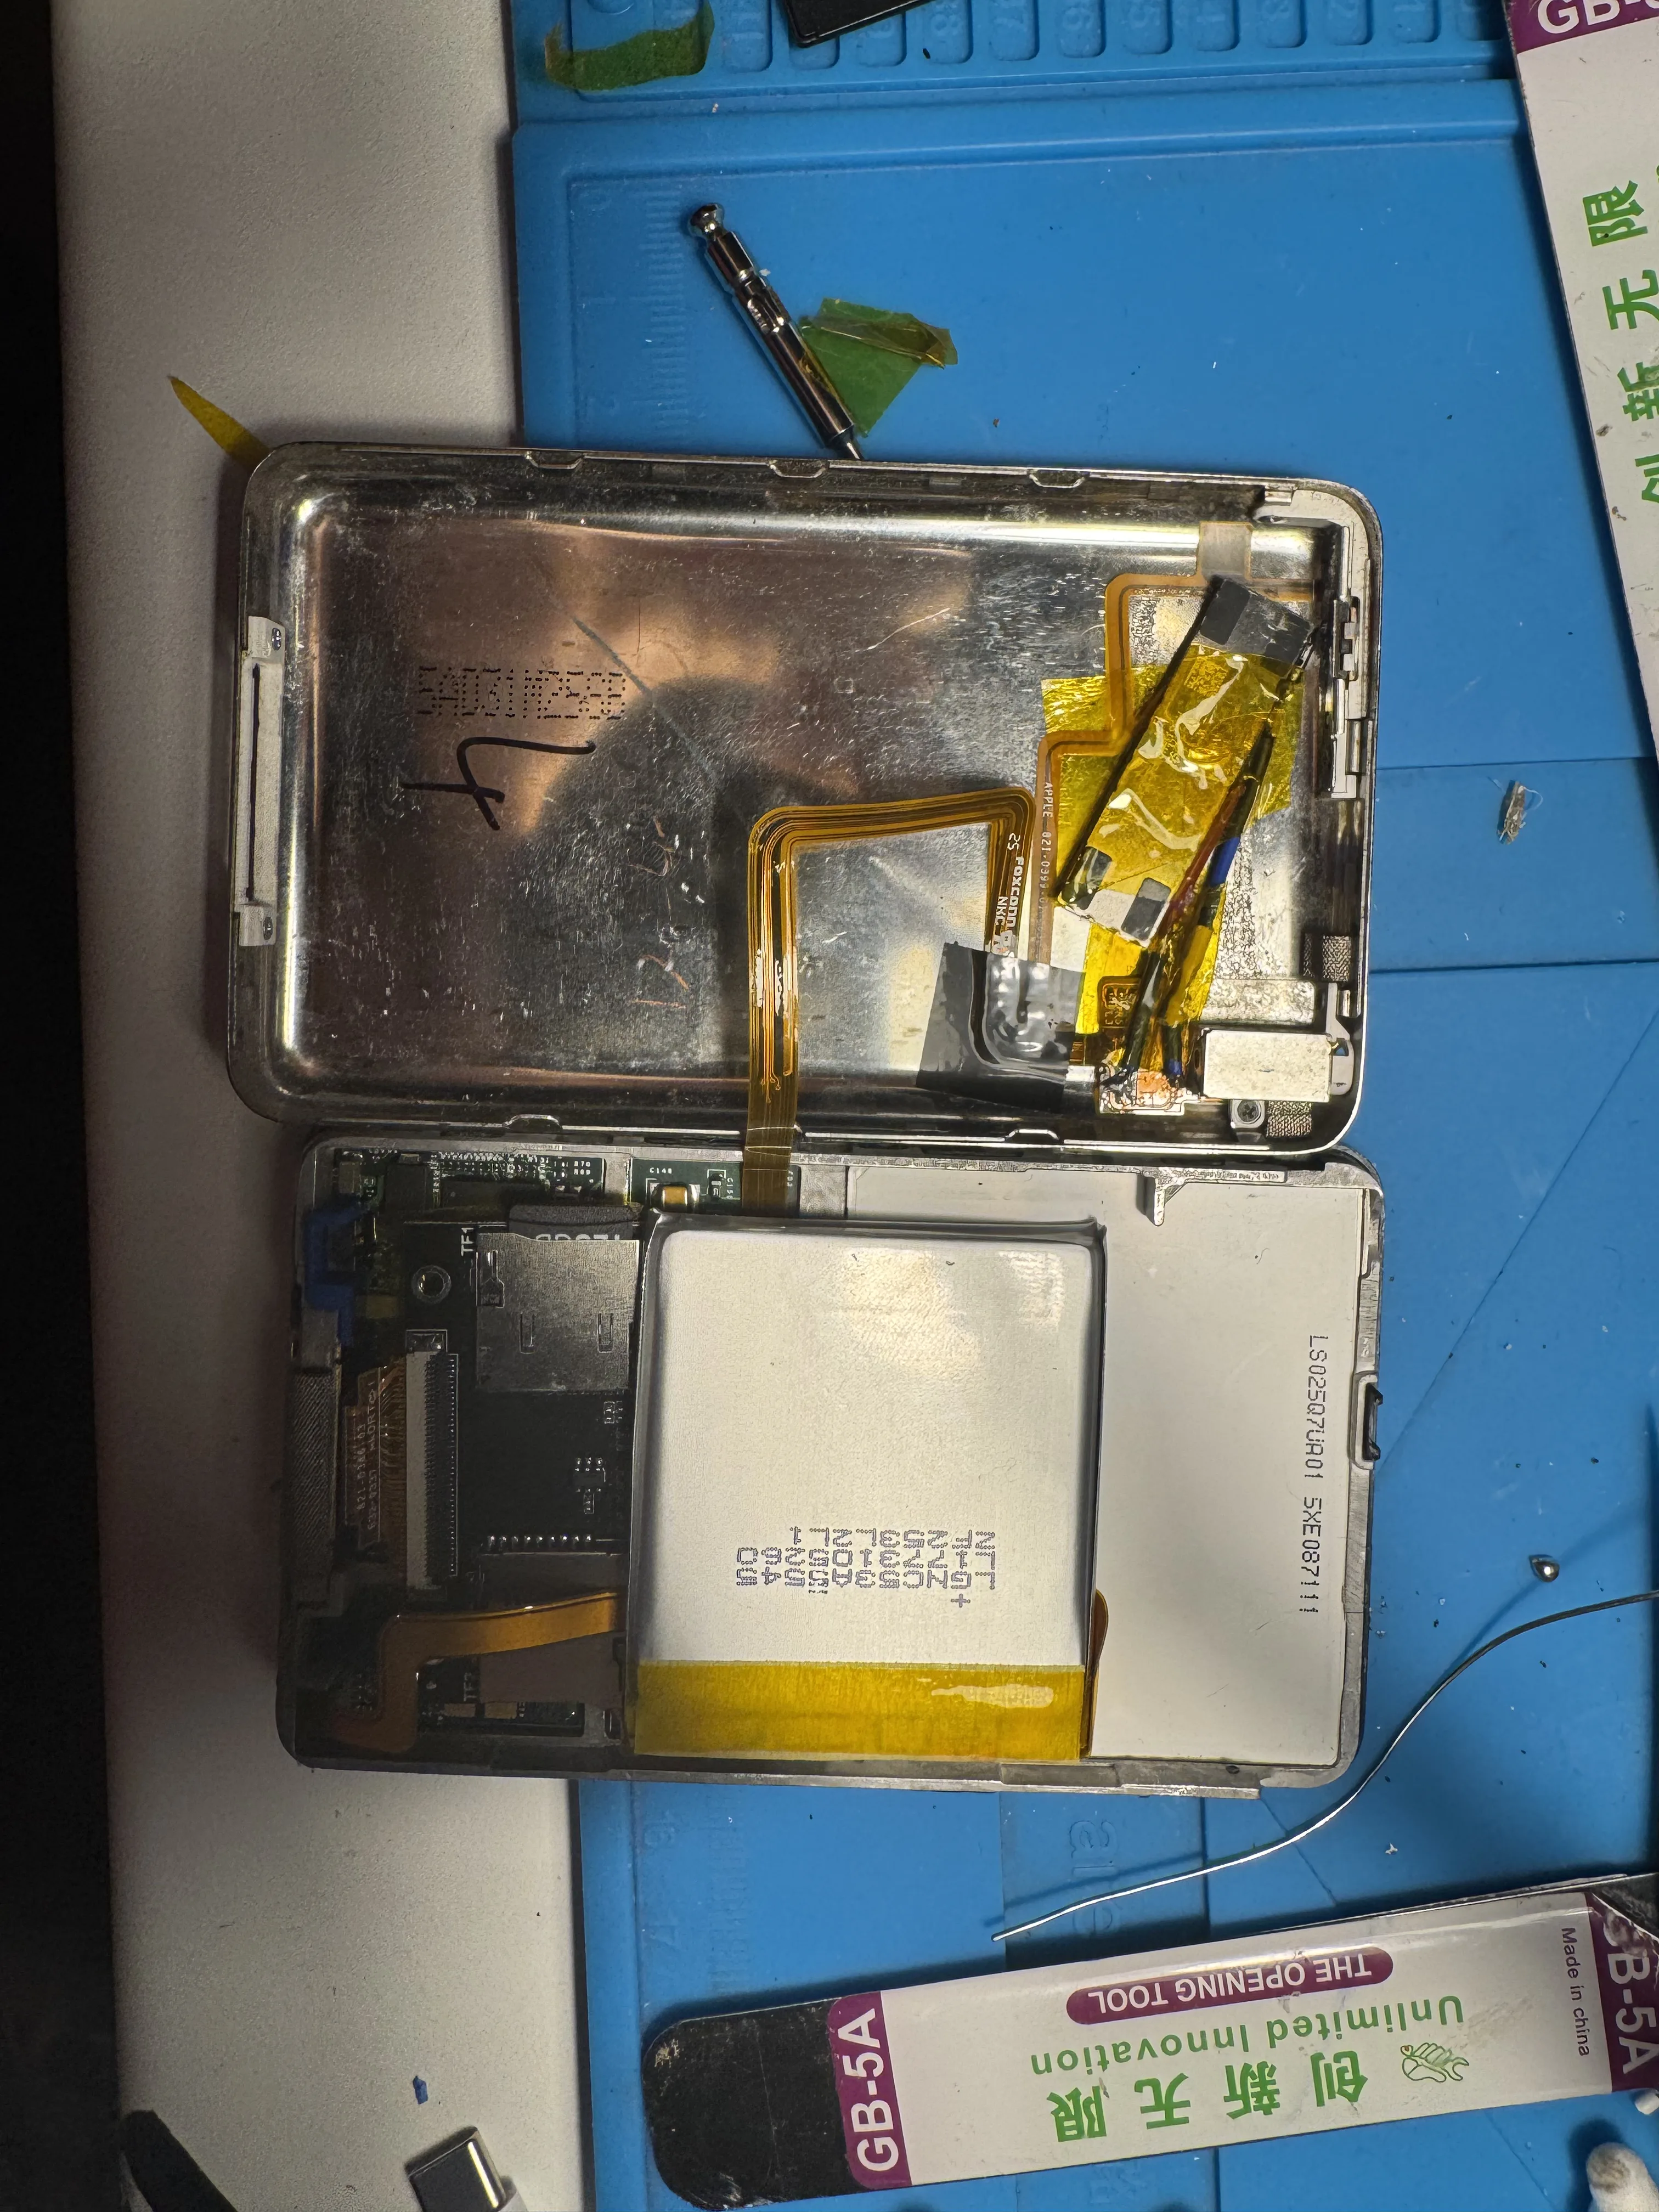
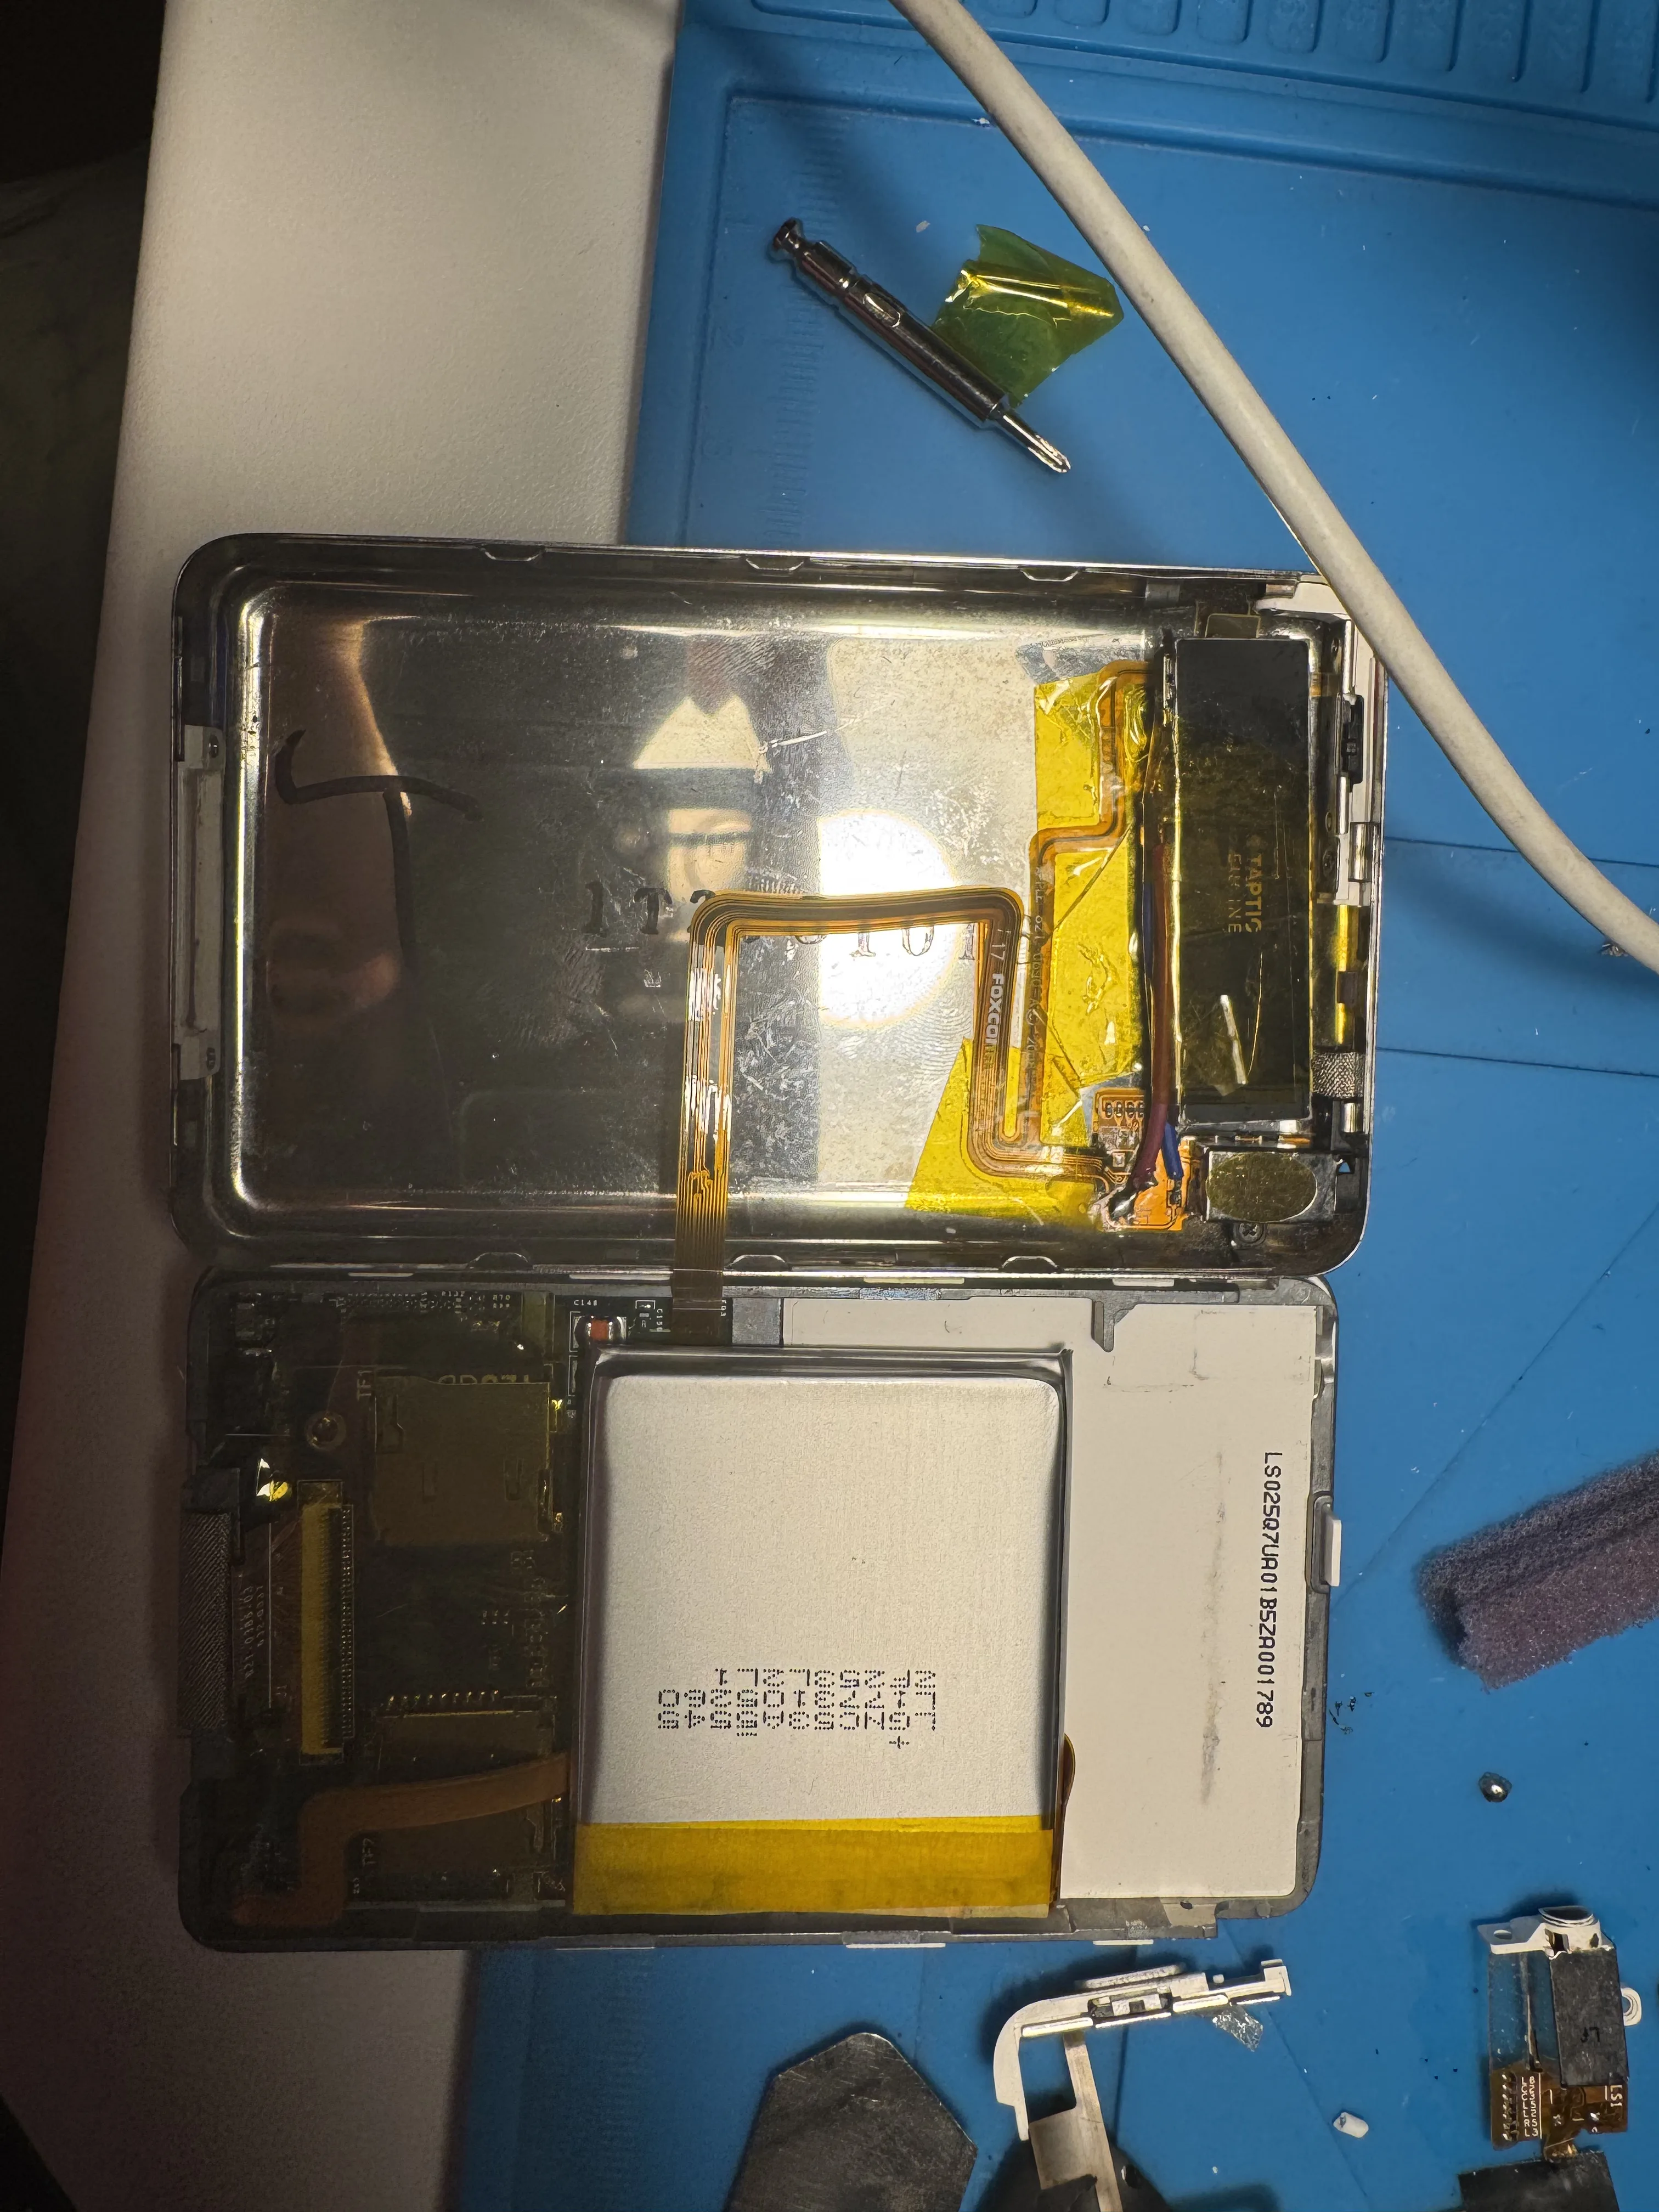
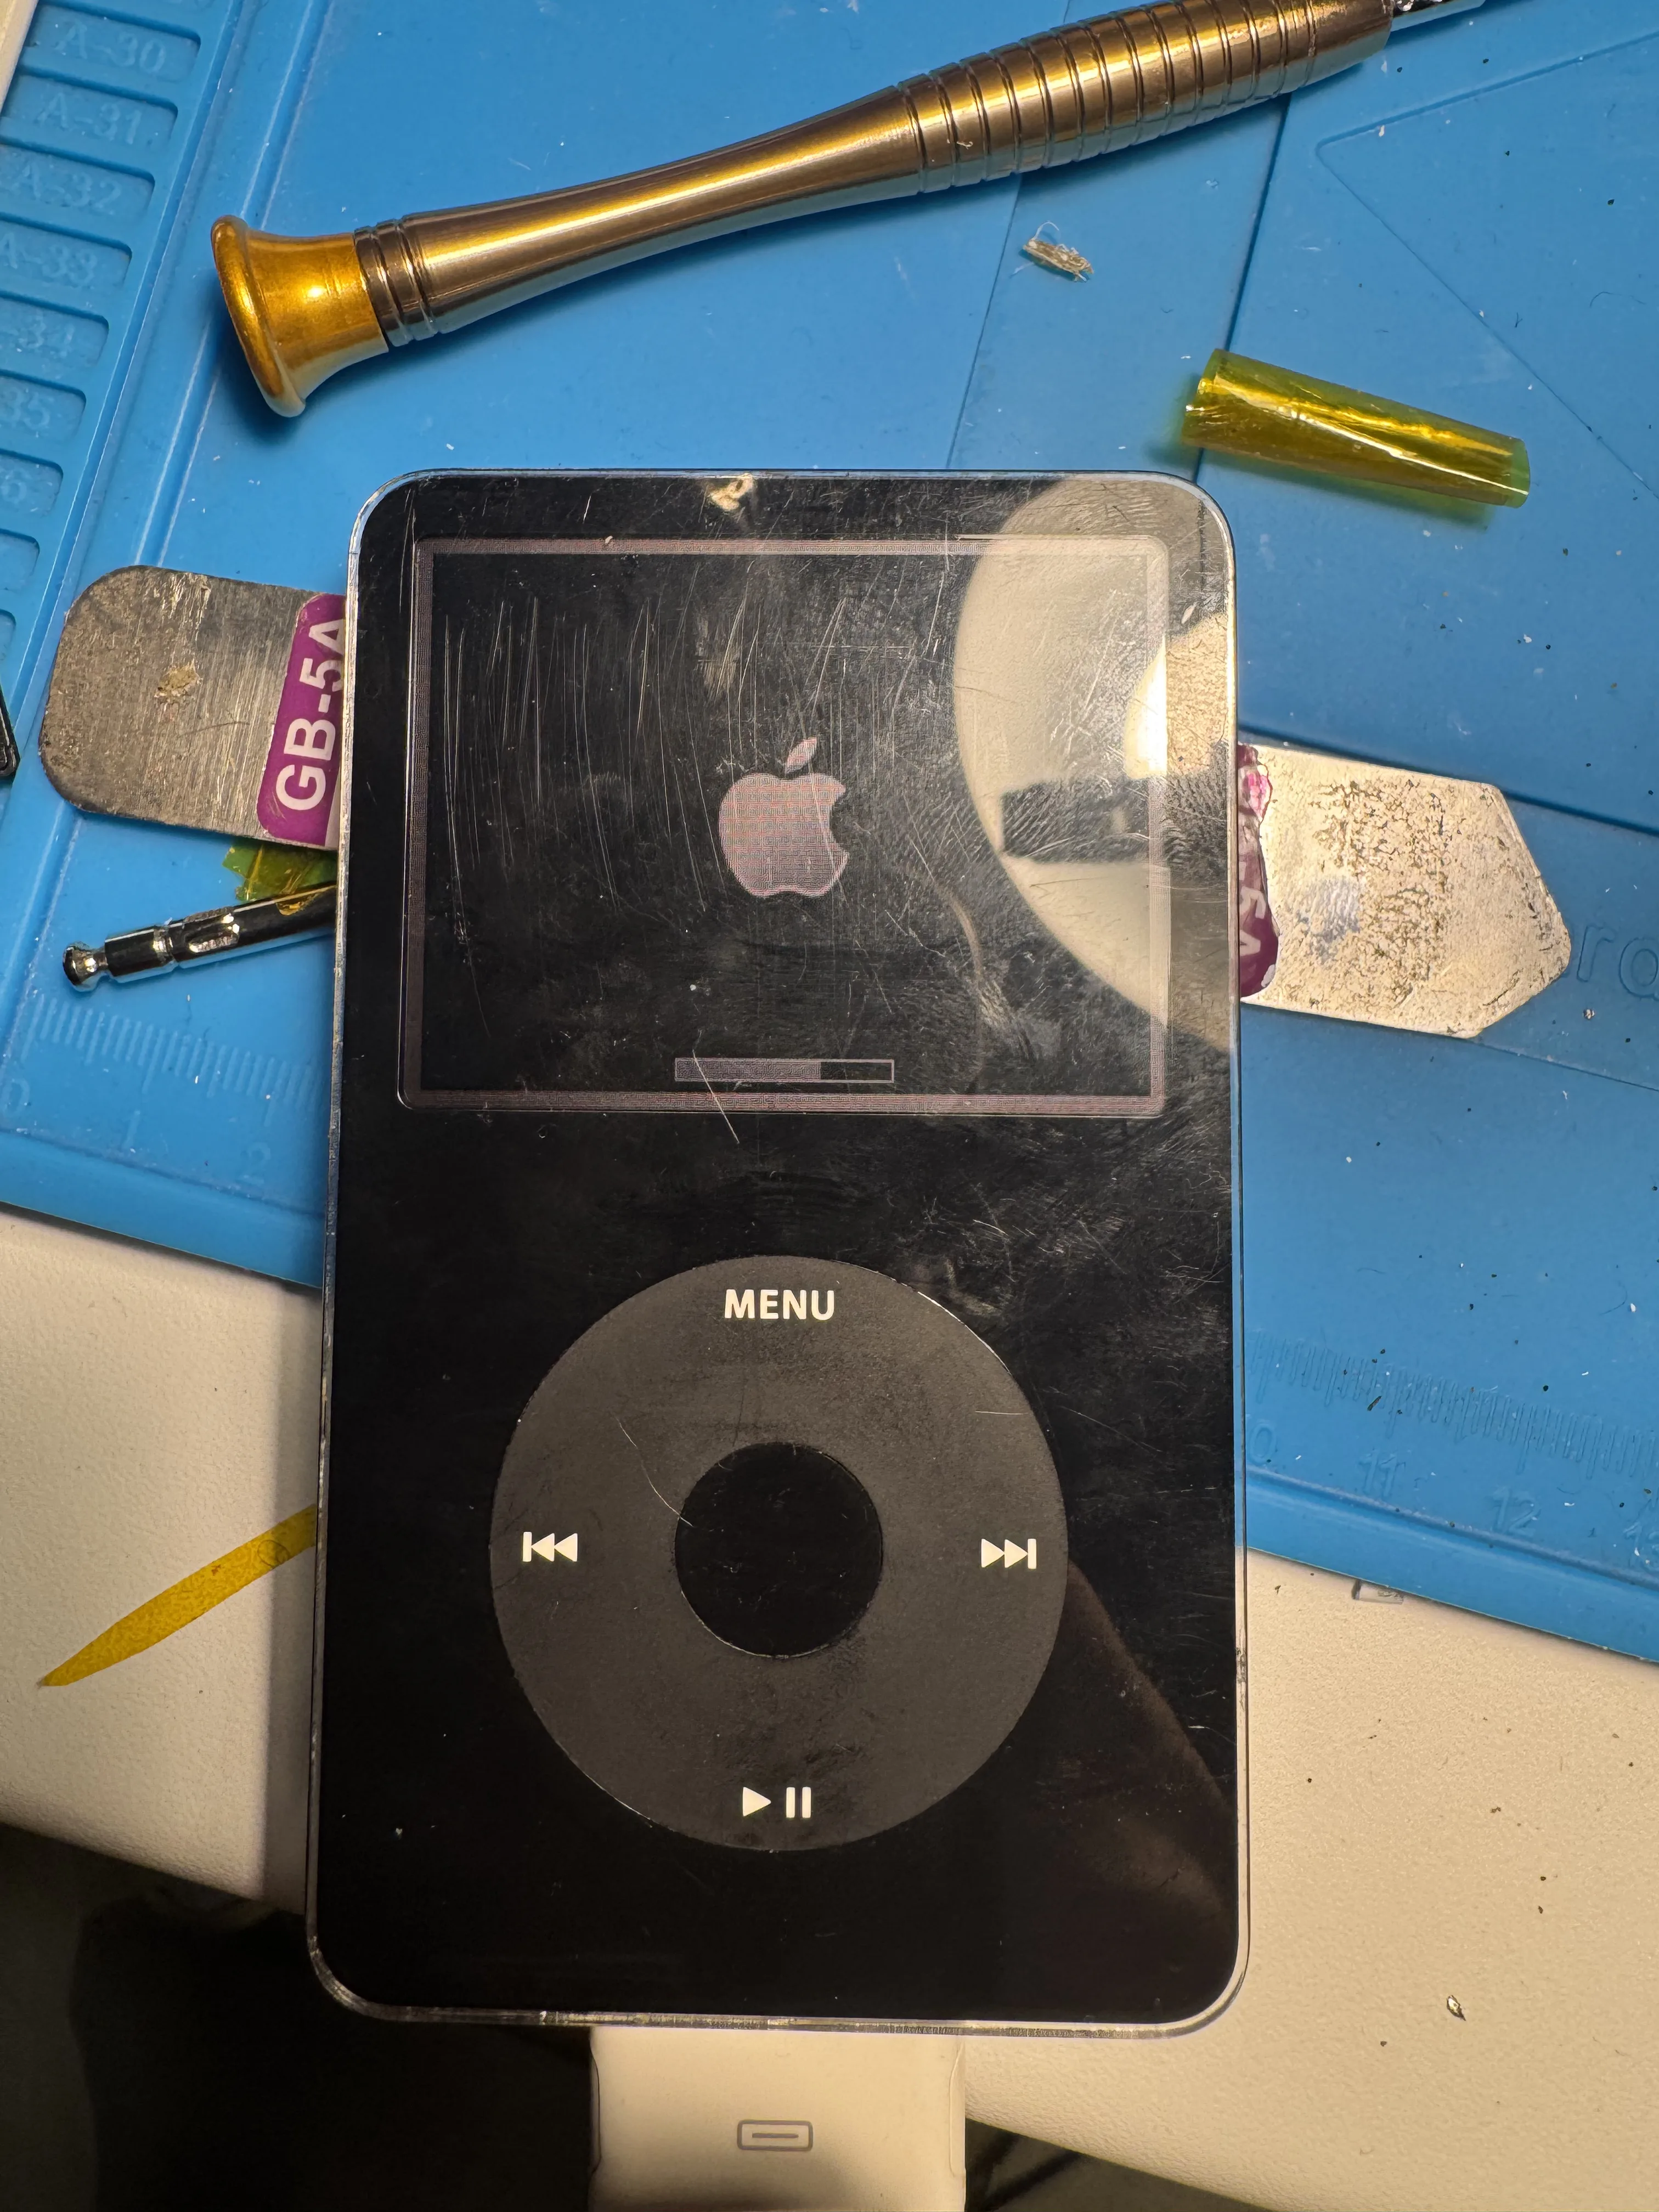
Testing Before Closing
Always test before snapping the case shut.
I first tested with an 8GB microSD card, and once everything worked, I swapped in the final cards (2× 128GB, one for each iPod).
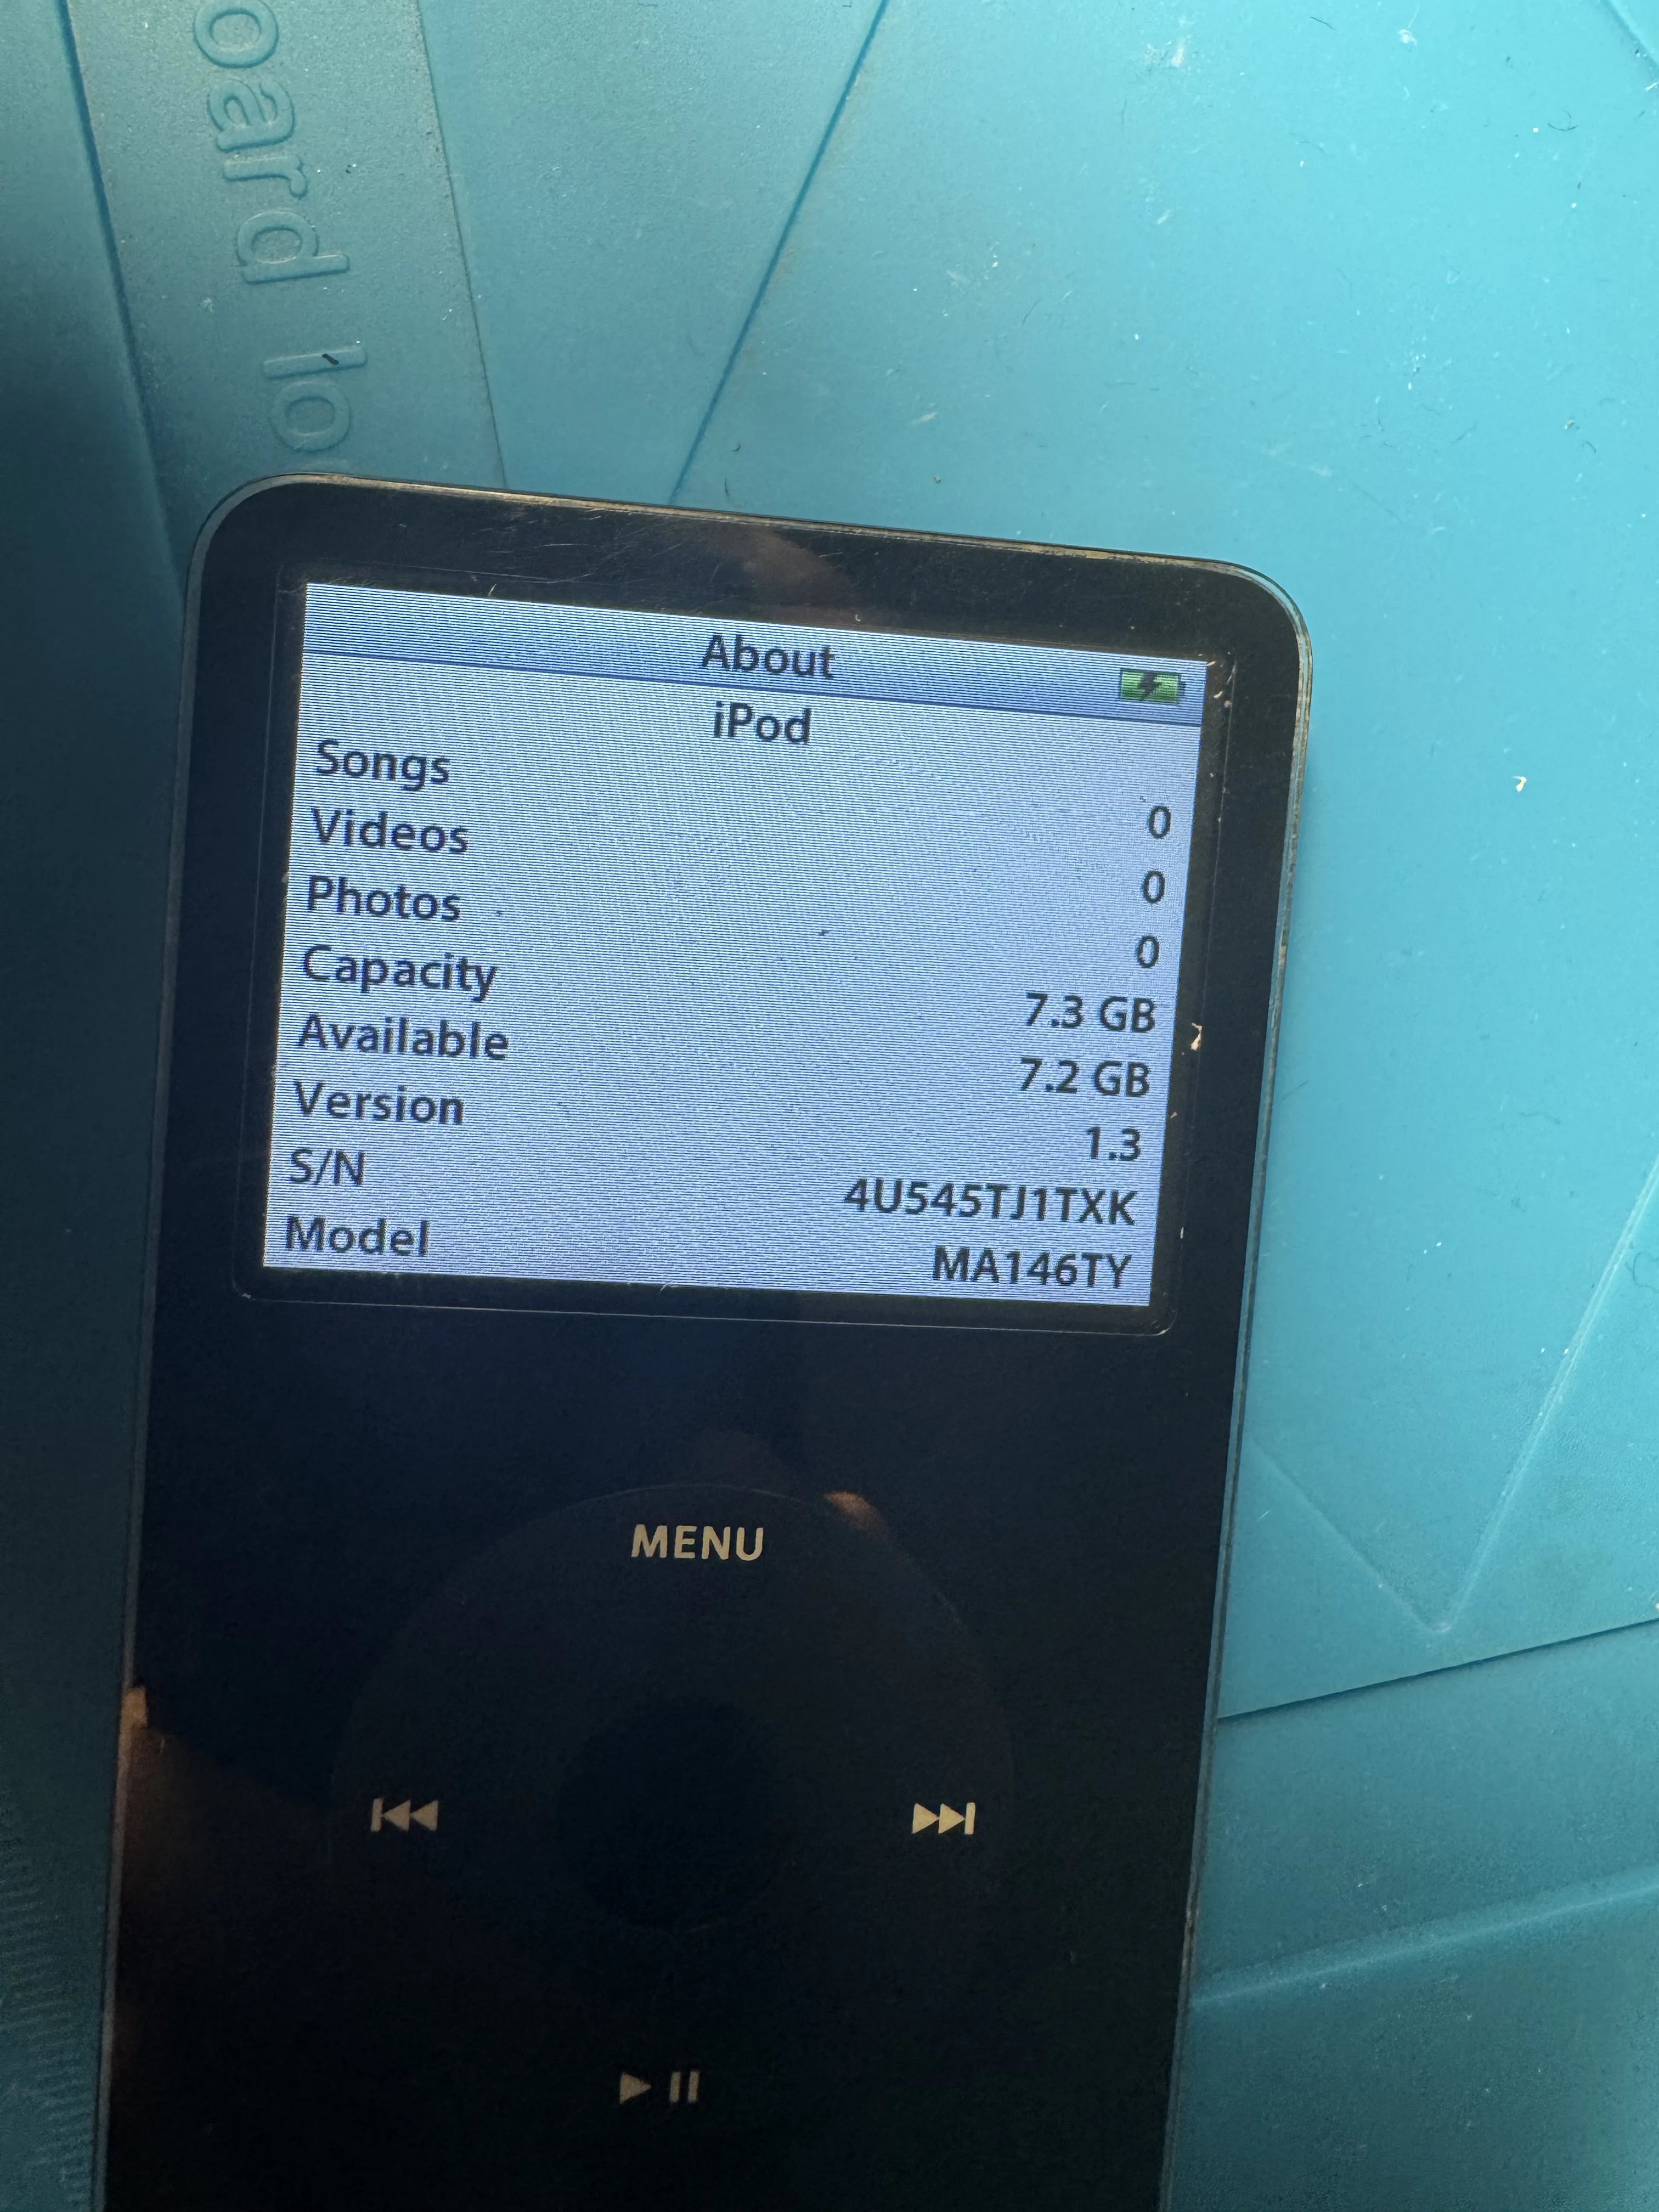
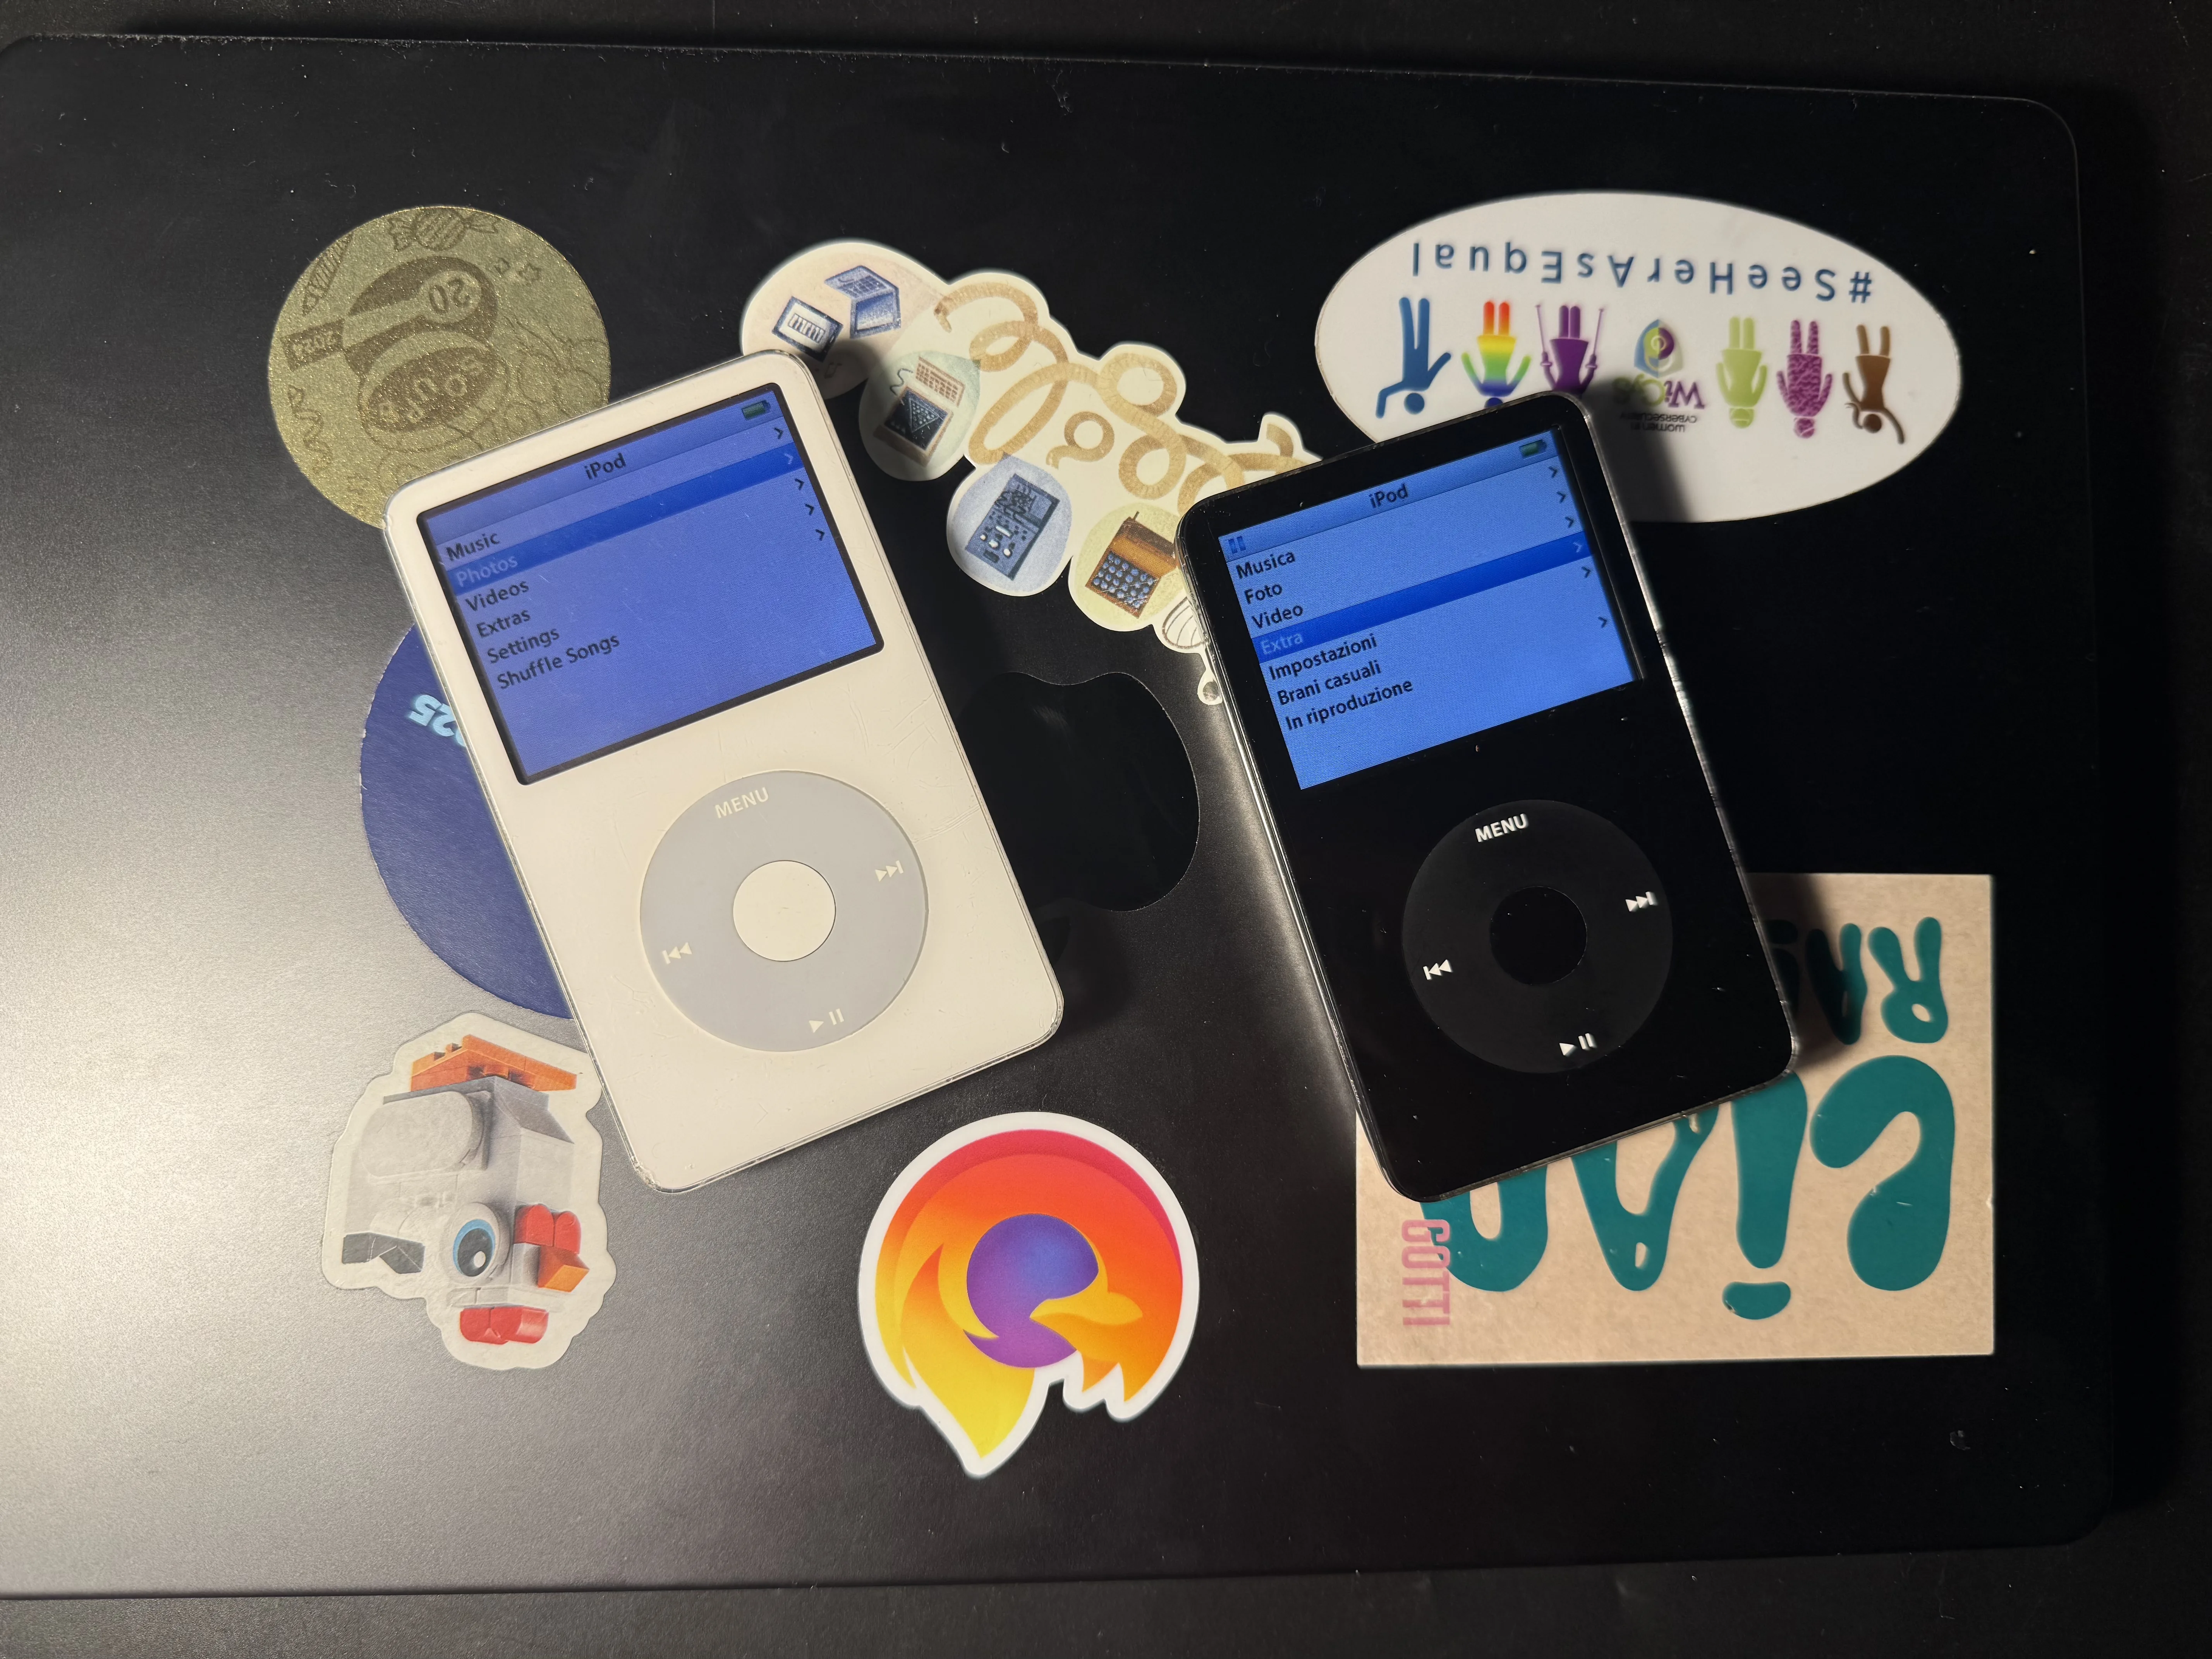
Final Result
Both iPods are now alive again: upgraded storage, fresh batteries, and taptic feedback ✨
What’s Next
A few things I still want to do:
- Get docks
- Get plastic cases
- Replace the faceplates (both are pretty scratched)
Conclusion
This was a really satisfying repair/mod project, especially because one of the iPods is the one I grew up with.
What started as a “spare parts” thrift find turned into two fully working modded iPods.